The start of a new year doesn’t always need a dramatic reset or a long list of resolutions. This year, I’m choosing something a little quieter — more intentional, more grounded, and more aligned with how I actually want to live day to day.
The past year was full of movement, change, emotions, and growth. Some moments were exciting, others challenging, and the clarity that came surprisingly from all the chaos is something I’m carrying with me into this next chapter. Instead of rushing past it all, I’m taking pieces of last year with me — the lessons, the wins, and the perspective that came from slowing down.
Going into 2026, I’m focusing on habits and energy that feel sustainable. Showing up more consistently — not perfectly — for the things that matter to me. Protecting my peace. Making space for what feels good. Prioritizing health, creativity, and connection over pressure and comparison.

My 2026 Vision Board
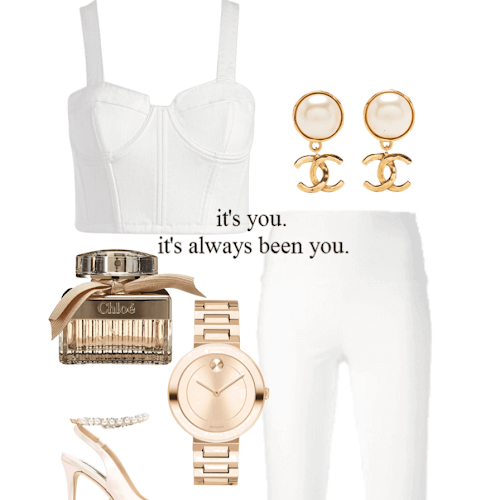
To make these intentions feel tangible, I created a vision board — not as a checklist, but as a visual reminder of how I want this year to feel.
I kept the process simple and intuitive — saving images that felt grounding and putting them together in Canva in a way that felt calm and uncluttered. Nothing overwhelming, nothing loud — just visuals that reflect the life I’m building.
I set it as my phone lock screen so it’s something I see daily. Not for pressure, but as a reminder to move through this year with intention, patience, and trust.
This board isn’t about forcing change. It’s about staying connected to what matters and allowing growth to happen naturally.
This year, I’m choosing consistency over perfection, presence over pressure, and alignment over urgency. Here’s to a year that feels grounded, calm, and true — and to letting things unfold in their own time.
Xo, Nik